How to Remove Bicycle Pedals: Step-by-Step Guide for Easy Removal and Reinstallation
Key Takeaways
- Learn how to safely and effectively remove bicycle pedals using the proper tools like a pedal wrench, hex wrench, and optional items such as a rubber mallet for additional assistance.
- Understand the thread direction: the right pedal loosens counterclockwise, while the left pedal loosens clockwise, making correct identification essential.
- Prepare your bike by stabilizing it securely with a stand or against a solid surface to ensure a smooth and safe process.
- Use techniques such as lubricant application, extra leverage with a long-handled wrench, and proper positioning to tackle stuck or stubborn pedals without causing damage.
- Avoid cross-threading during reinstallation by carefully aligning the threads and tightening pedals with controlled force to ensure optimal performance and prevent strain.
- Always prioritize maintenance practices like applying grease to pedal threads to reduce friction and prevent future issues like seizing or rust buildup.
Removing bicycle pedals might seem tricky at first, but trust me, it’s easier than you think. Whether you’re swapping them out for an upgrade, performing maintenance, or packing your bike for travel, knowing how to take off pedals is a handy skill every cyclist should have.
Tools You Will Need
Removing bicycle pedals becomes straightforward with the right tools. Here’s a breakdown of the essentials and optional items that can help.
Essential Tools
- Pedal wrench: A 15mm pedal wrench fits most standard pedals. It’s longer than a standard wrench, offering better leverage.
- Hex wrench (Allen key): Many modern pedals use a 6mm or 8mm hex socket on the inside of the crank arm.
- Grease: Applying grease to the threads before reinstalling pedals reduces friction and prevents them from seizing.
Optional Tools For Easier Removal
- Adjustable wrench: Works well if a pedal wrench isn’t available, though it might not provide as much leverage.
- Rubber mallet: A gentle tap can help loosen especially stubborn pedals without damaging components.
- Mechanic’s gloves: Keeps hands clean and provides a better grip during removal.
Preparing Your Bicycle

Getting your bike ready is a key step before removing the pedals. Proper preparation ensures safety and makes the process smoother.
Positioning The Bicycle
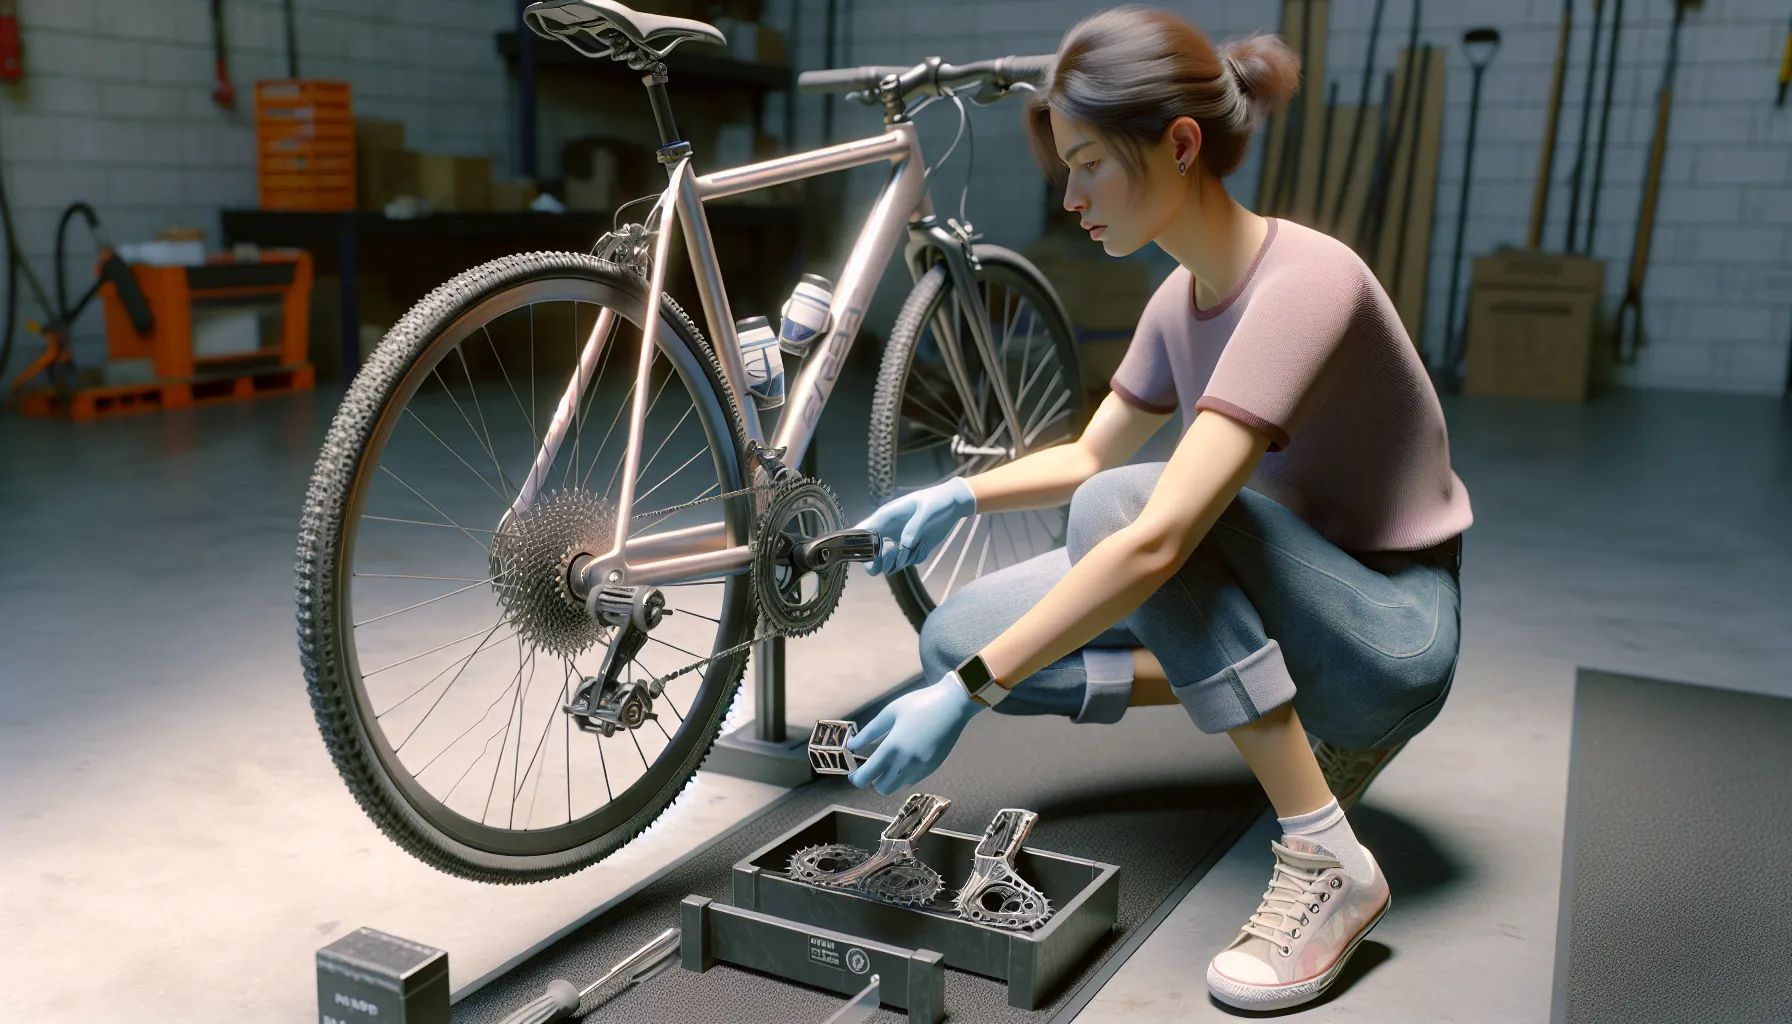
Stabilize the bike to prevent movement during the task. Use a bike stand if available, as it holds the bike securely and leaves both hands free. If a stand isn’t accessible, lean the bike against a solid surface like a wall or lay it flat on the ground with the drivetrain side up to avoid damage.
Identifying The Pedal Threads
Determine the thread direction for each pedal since it’s crucial for proper removal. The right pedal has standard threads and loosens counterclockwise, while the left pedal has reverse threads and loosens clockwise. Check the pedals’ axles for “L” (left) and “R” (right) markings, which clearly indicate their threading.
Step-By-Step Guide On Removing Bicycle Pedals

Removing bicycle pedals involves understanding thread directions, using the right tools, and applying the correct techniques. Follow these steps to remove the right and left pedals efficiently.
Removing The Right Pedal
Position the bike securely on a stand or against a stable surface. Locate the right pedal on the chain side of the bike.
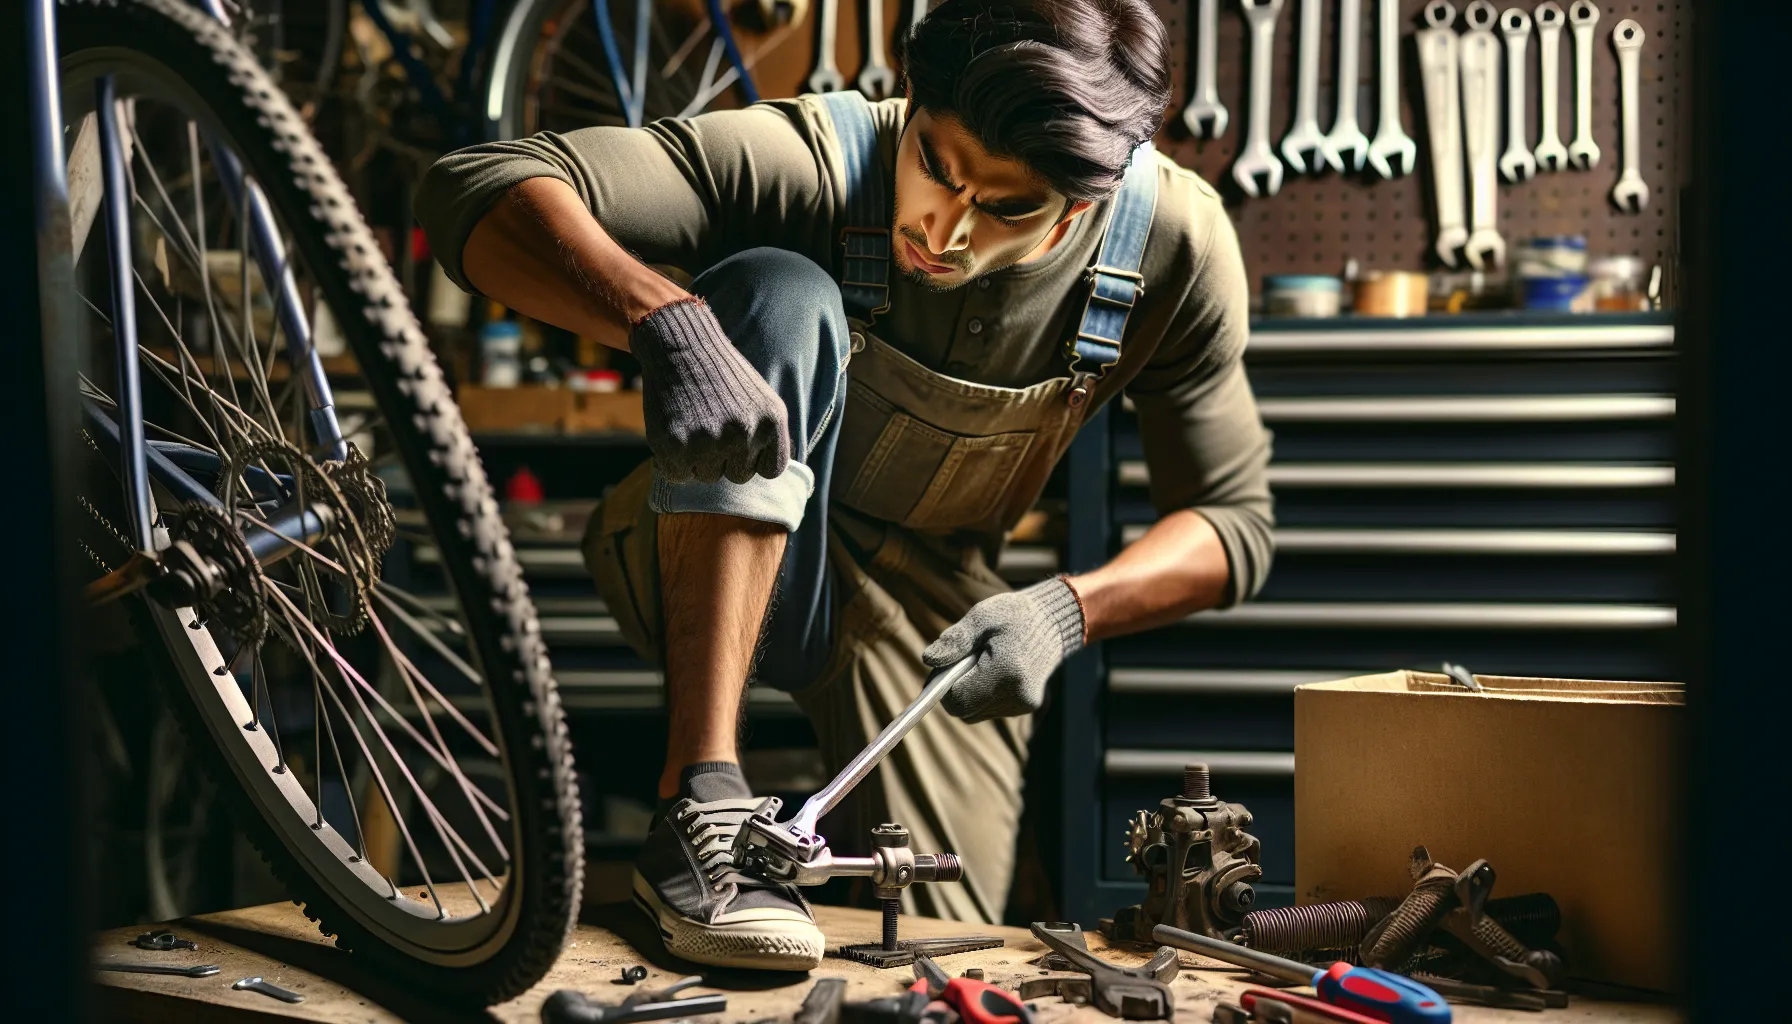
Attach a 15mm pedal wrench or a hex wrench to the pedal axle. Turn counterclockwise to loosen it. If the pedal feels stuck, apply steady pressure while ensuring the wrench stays in place. For additional leverage, use an adjustable wrench or lightly tap the wrench with a rubber mallet. Once loosened, unscrew the pedal completely by hand and set it aside.
Removing The Left Pedal
Identify the left pedal on the side opposite the chain. Its thread direction is reversed, loosening clockwise.
Securely attach your wrench or hex tool to the axle. Turn it clockwise to loosen the pedal. If resistance occurs, maintain firm pressure and consider using a rubber mallet for assistance. Once loosened, finish by unscrewing it by hand and placing it safely away from the work area.
Tips For Stubborn Pedals

Tough pedals can make removal frustrating, but a few strategies simplify the process. These methods ensure safety and prevent damage to your bike.
Applying Lubricant
I use penetrating oil like WD-40 for stuck pedals, spraying it where the crank arm meets the pedal threads. Letting it sit for about 10-15 minutes softens rust or grime. Wiping away excess lubricant keeps the area clean before attempting removal.
Using A Pedal Wrench For Extra Leverage
When pedals resist, I rely on a long-handled pedal wrench. The extra length increases force, making stubborn pedals easier to loosen. Positioning the wrench parallel to the crank arm helps maintain control and avoid slipping.
Handling Stripped Threads
If pedal threads strip, I examine the crank arm for damage. I consider using a thread repair kit, such as a Helicoil insert, to restore functionality. For severe cases, consulting a bike mechanic ensures proper repair without worsening the issue.
Reinstalling Pedals Correctly
Reinstalling pedals ensures a smooth ride and prevents damage to the crank arms or threads. Following proper steps makes this process quick and effective.
Aligning The Threads
I always start by carefully aligning the pedal threads with those on the crank arm. The right pedal threads clockwise, while the left pedal threads counterclockwise. To make alignment easier, I turn the pedal axle gently by hand until it screws in smoothly without resistance. Cross-threading can damage the crank arm, so I never force the pedal if it doesn’t thread easily.
Securing With Proper Torque
Once the threads are aligned, I tighten the pedals using a 15mm wrench or hex key, depending on the pedal design. For optimal performance, I apply firm but controlled force to ensure the pedals are secure, typically aiming for 30-40 Nm of torque, as recommended by most manufacturers. Overtightening can strain the threads, so I stop once the pedal feels snug and secure.
Conclusion
Removing and reinstalling bicycle pedals might seem tricky at first, but with the right tools and a little patience, it’s totally manageable. Knowing how to handle your pedals not only keeps your bike in great shape but also gives you the confidence to tackle other maintenance tasks.
Whether you’re upgrading, traveling, or just doing a bit of upkeep, this skill is a must-have for any cyclist. Take your time, follow the steps carefully, and don’t forget to double-check everything before hitting the road. Happy riding!
Frequently Asked Questions
1. What tools do I need to remove and reinstall bike pedals?
To remove and reinstall bike pedals, you need a 15mm pedal wrench or a hex wrench (depending on pedal type) and grease. Optional tools include an adjustable wrench, a rubber mallet for tough pedals, and mechanic’s gloves for better grip and cleanliness.
2. How do I stabilize my bike before removing pedals?
Use a bike stand to secure the bike or lean it against a sturdy surface to ensure stability during the process. This prevents accidents and makes removal or installation much easier.
3. How can I identify the thread direction for pedals?
The right pedal loosens counterclockwise and tightens clockwise, while the left pedal loosens clockwise and tightens counterclockwise. Look for threading markings on the pedal axles for confirmation.
4. What should I do if my pedals are stuck?
Apply penetrating oil like WD-40 to loosen stuck pedals. You can also use a long-handled pedal wrench for extra leverage or tap the wrench gently with a rubber mallet if necessary.
5. How do I avoid cross-threading when reinstalling pedals?
Align the pedal threads with the crank arm threads carefully and begin turning the pedal axle by hand. Avoid using force initially—this ensures proper threading before tightening with a wrench.
6. What torque setting should I use for tightening pedals?
Bike pedals should be tightened to 30-40 Nm using controlled force. Overtightening can strain threads, while under-tightening may cause the pedals to loosen during rides.
7. Can I fix stripped pedal threads?
Yes, minor thread damage can often be fixed using a thread repair kit. For severe cases, consult a professional bike mechanic to avoid further damage to the crank arm.
8. Why is grease important when reinstalling pedals?
Grease reduces friction, prevents corrosion, and makes future pedal removal easier. Apply it to the pedal threads before installation for optimal performance.
9. How long does it take to remove and reinstall pedals?
If you have the proper tools and follow the correct steps, removing and reinstalling bike pedals typically takes 10-15 minutes.
10. Do all bikes have the same pedal threading?
Yes, most bikes follow the same threading pattern: the right pedal tightens clockwise, and the left pedal tightens counterclockwise. This standard prevents pedals from loosening during rides.