How to Adjust Bicycle Brakes: Step-by-Step Guide for Safe and Smooth Riding
Key Takeaways
- Properly adjusted bicycle brakes ensure safe and efficient riding by improving stopping power and reducing the risk of accidents.
- Essential tools for brake adjustments include hex keys, screwdrivers, cable cutters, pliers, and a wrench set for precision and efficiency.
- Key steps for brake adjustment include inspecting brake pads, aligning them with the rim, adjusting cable tension, and fine-tuning brake levers for optimal performance.
- Common mistakes like over-tightening cables, neglecting regular inspections, or skipping test rides can compromise brake effectiveness and safety.
- Regular maintenance, including cleaning components, inspecting pads and cables, and lubricating pivot points, enhances brake reliability and extends their lifespan.
- Test your bike’s braking system after every adjustment to ensure proper functionality before riding.
Nothing ruins a good bike ride faster than brakes that don’t work properly. Whether they’re squealing, feeling too loose, or not stopping you when they should, poorly adjusted brakes can be both frustrating and dangerous. The good news? Fixing them isn’t as complicated as it might seem.
I’ve adjusted my own bike brakes countless times, and it’s honestly one of the most satisfying DIY fixes out there. With just a few tools and a little patience, you can get your brakes back in top shape and feel confident hitting the road or trail again. Let’s dive into the basics so you can get back to riding safely and smoothly.
Importance Of Adjusting Bicycle Brakes
Efficient bicycle brakes ensure safe riding, especially in unpredictable conditions like sudden obstacles or wet roads. A well-maintained brake system provides consistent stopping power, reducing the risk of accidents.
Properly adjusted brakes increase component longevity by minimizing unnecessary wear on pads and rims. Misaligned pads can damage the rim surface, while loose cables may lead to uneven wear.
Responsive brakes enhance riding confidence during commutes, fitness rides, or off-road adventures. Knowing your bike stops reliably helps focus on the ride rather than worrying about potential mishaps.
Tools You Need To Adjust Bicycle Brakes
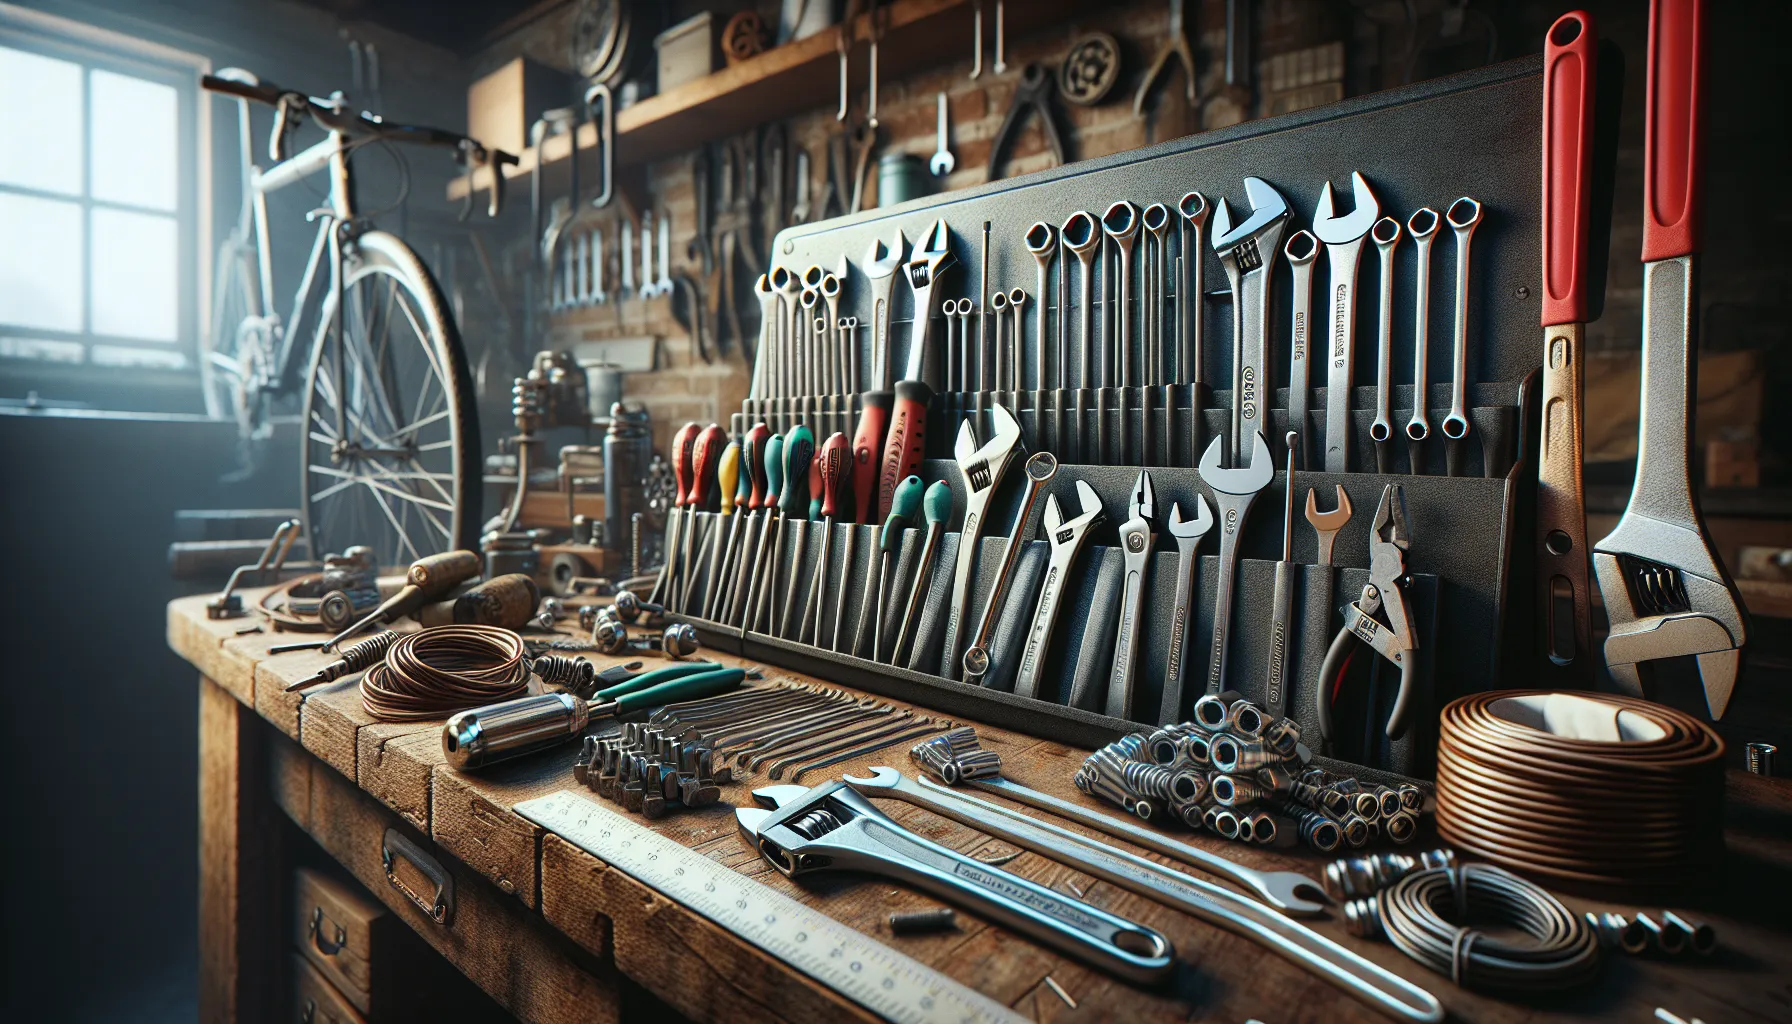
Having the right tools makes brake adjustment easier and more efficient. I always keep these essentials on hand:
- Hex keys: Common sizes like 4mm, 5mm, and 6mm fit most brake components.
- Screwdrivers: Both Phillips-head and flat-head screwdrivers adjust caliper screws or brake lever tension.
- Cable cutters: Cleanly cut brake cables without fraying the ends.
- Pliers: Secure cable ends and assist with tension adjustments.
- Wrench set: Open-ended or adjustable wrenches tighten bolts on older brakes or less common designs.
- Allen wrench set: Tighten or loosen Allen bolts used in modern brakes.
- Ruler or tape measure: Measure cable lengths for proper alignment.
Access to these tools means I can tackle brake adjustments without unnecessary interruptions. Each tool plays a specific role in ensuring efficient and precise fixes.
Step-By-Step Guide On How To Adjust Bicycle Brakes
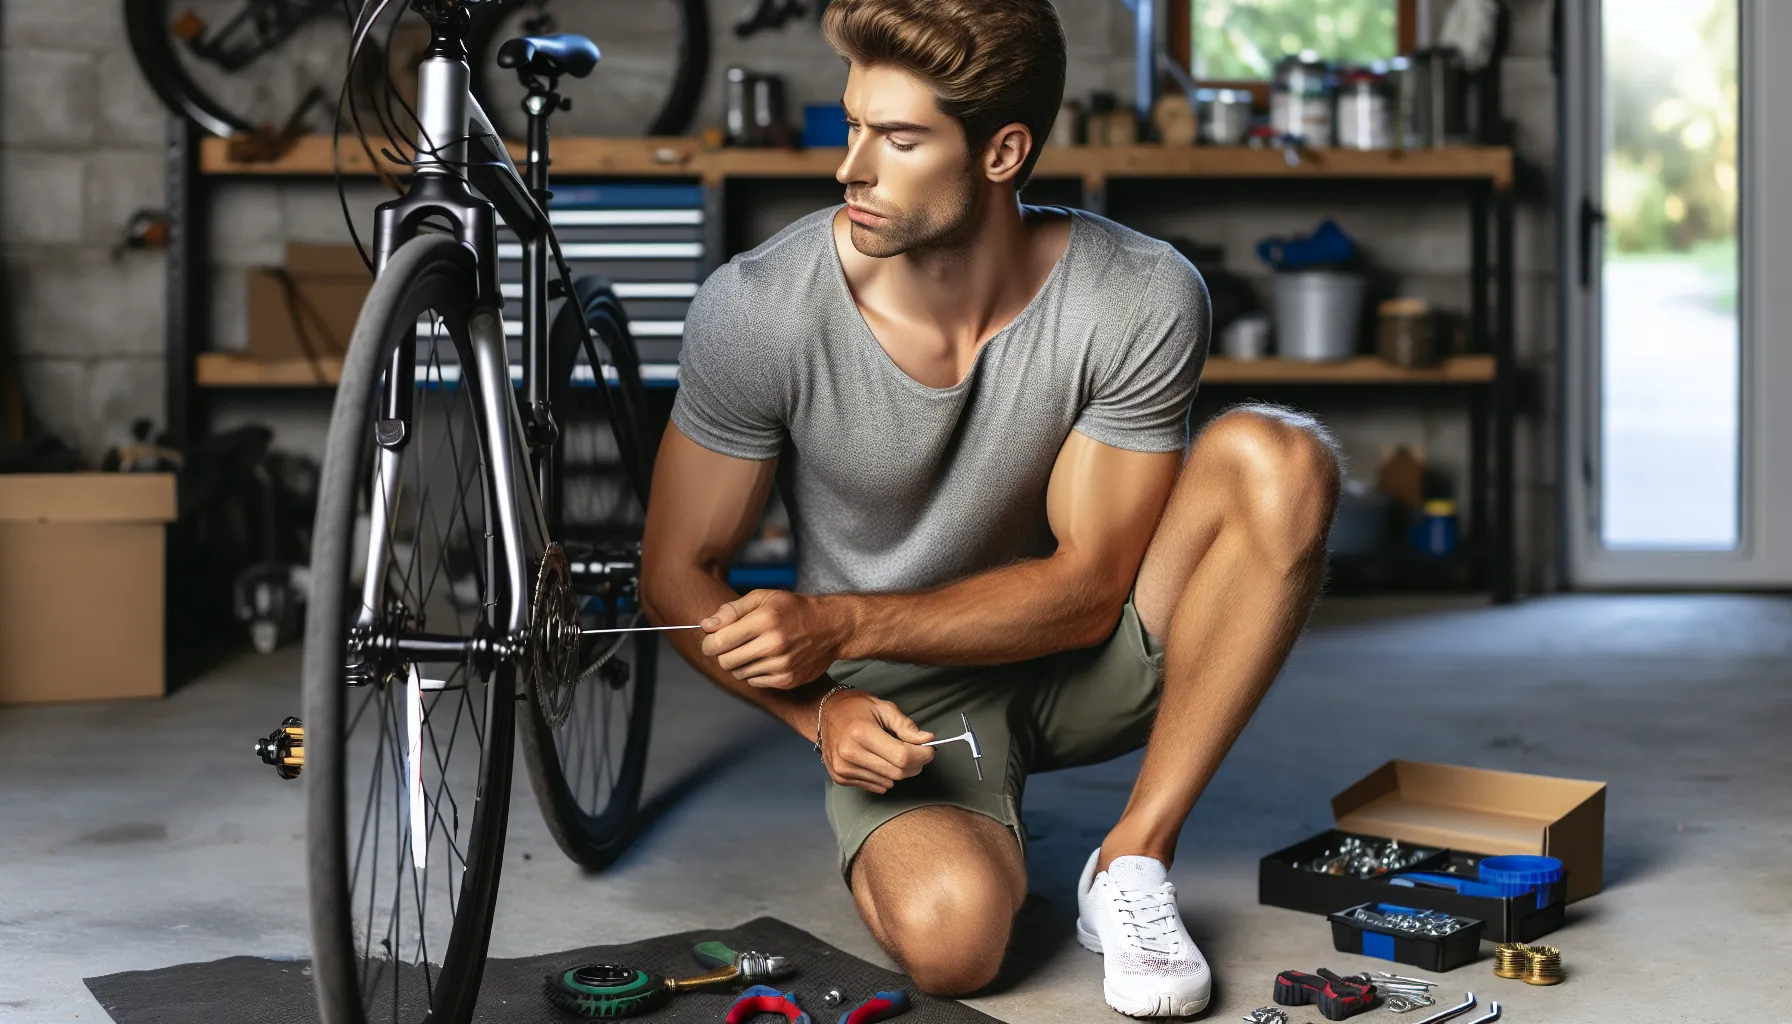
Adjusting bicycle brakes is a straightforward process when broken into manageable steps. Follow these instructions to ensure your bike’s braking system functions reliably.
Inspecting The Brakes
I start by checking the brake system for wear or damage. Examine the brake pads for thinning or cracks, as worn-out pads won’t grip effectively. Spin the wheels to ensure they rotate freely without rubbing against the pads. Look at the brake cables for fraying or kinks, as damaged cables can reduce braking efficiency.
Aligning The Brake Pads
Positioning the brake pads correctly prevents uneven wear and improves braking power. I loosen the bolt securing each brake pad using an Allen wrench. The pad should align with the rim, contacting it evenly along the braking surface, not the tire. Once aligned, I tighten the bolt securely to maintain the pad’s position.
Adjusting The Cable Tension
Proper cable tension ensures the brakes respond promptly. I locate the barrel adjuster near the brake lever or caliper and turn it to fine-tune the cable tension. For slack cables, I tighten the adjuster until the pads lightly touch the rim when the lever is pulled. Conversely, I loosen it if the brakes feel overly tight.
Fine-Tuning The Brake Levers
The brake levers should engage comfortably when pulled. I test each lever, ensuring it doesn’t fully touch the handlebar when pressed. If needed, I adjust the lever’s reach screw or retune the cable tension to achieve the desired response. This step provides optimal leverage and control during braking.
Common Mistakes To Avoid

Failing to inspect brake pads regularly causes uneven wear and decreases braking efficiency. I suggest checking brake pad alignment often and replacing them when worn down to ensure proper contact with the rim or rotor.
Over-tightening brake cables leads to reduced braking performance. Adjust the cable tension carefully, allowing the brakes to engage without dragging on the wheel.
Ignoring dirt and grime buildup on brake components affects braking power. Keep the pads, rims, and calipers clean with a damp cloth or a specific bike cleaner to maintain responsiveness.
Skipping a test ride after adjustments risks overlooking issues. Always test the brakes on a flat, safe surface before heading out to ensure proper function.
Neglecting to align the brake calipers correctly results in uneven braking. Verify that both sides move symmetrically and apply equal pressure to the wheel for safe stops.
Tips For Maintaining Proper Brake Performance
- Inspect brake pads regularly
I check my brake pads frequently for wear, cracks, or uneven surfaces. Worn pads decrease stopping power and can damage the rims. Replacing them when the grooves fade keeps performance consistent.
- Keep components clean
I clean the brake pads, rims, and calipers using a soft cloth and alcohol-based cleaner to remove dirt or debris. Clean surfaces improve contact, ensuring better braking efficiency.
- Adjust cable tension periodically
I monitor cable tension to maintain responsive braking. Loose cables reduce performance, while overly tight cables can cause premature pad wear. Fine-tuning this balance enhances safety and control.
- Lubricate pivot points
I apply a small amount of lubricant to the caliper pivot points to reduce friction and ensure smooth operation. Excess oil near the pads must be avoided to prevent contamination.
- Check wheel alignment
I ensure the wheels are centered and free of wobbles. Misaligned wheels cause uneven pad wear and reduce braking effectiveness. Truing the wheels when needed addresses this issue.
- Test brakes after adjustments
I always test my brakes after cleaning or adjusting. Rolling the bike and squeezing the levers confirms proper function and highlights areas needing further tweaks.
- Replace worn cables and housing
I check for frayed cables or damaged cable housing during maintenance. Replacing them as needed prevents snapping and ensures consistent performance.
- Inspect caliper alignment
I align the calipers to ensure equal pad engagement on both sides of the rim. Misaligned calipers create uneven braking and affect stopping power.
- Avoid excessive force on brake levers
I use controlled pressure when braking to minimize wear on components. Sudden, hard braking stresses the system and reduces longevity.
Conclusion
Taking the time to adjust your bike brakes isn’t just about safety—it’s about enjoying every ride with confidence and peace of mind. Once you get the hang of it, maintaining your brakes becomes second nature and adds to the joy of caring for your bike.
Remember, a little effort goes a long way in keeping your braking system reliable and responsive. With the right tools and a bit of patience, you’ll be ready to tackle any road or trail with ease. Happy riding!
Frequently Asked Questions
Why are properly adjusted bike brakes important?
Properly adjusted bike brakes ensure safe and reliable stopping power, especially in unpredictable conditions. They reduce the risk of accidents, prevent excessive wear on brake components, and boost a cyclist’s confidence by offering consistent braking performance.
Is adjusting bike brakes a difficult task for beginners?
No, adjusting bike brakes is manageable for beginners. With the right tools and instructions, like those provided in the article, you can perform basic brake maintenance. Taking it step-by-step makes the process easier and more rewarding.
What tools are needed to adjust bike brakes?
Essential tools include hex keys, screwdrivers, cable cutters, pliers, a wrench set, an Allen wrench set, and a ruler or tape measure. Having these on hand will simplify the brake adjustment process and ensure accurate fixes.
How can I tell if my brake pads need replacing?
Check your brake pads for wear indicators, which are grooves or notches that fade as the pad wears down. If these indicators are no longer visible, or if the pads appear uneven or damaged, they need to be replaced.
What is the most common mistake when adjusting bike brakes?
A common mistake is over-tightening the brake cables, which can cause poor performance and damage components. Always ensure proper tension while allowing enough movement for smooth and responsive braking.
How often should I inspect and adjust my bike brakes?
Inspect your bike brakes every few weeks, especially if you ride frequently or in rough conditions. Adjustments should be made as needed to ensure smooth operation, and detailed maintenance can be done every few months.
What are the benefits of maintaining bike brakes regularly?
Regular maintenance improves braking efficiency, extends the life of brake pads and rims, and ensures a safer riding experience. It also helps avoid costly repairs by catching issues early, such as misaligned calipers or worn cables.
How do I align the brake calipers correctly?
To align brake calipers, loosen the mounting bolts slightly so they can move. Squeeze the brake lever to center the calipers around the rim, then tighten the bolts securely while holding the lever. Test to ensure even braking.
Why is cable tension important for brake performance?
Cable tension ensures that brakes respond promptly when needed. Loose cables can cause delayed braking, while overly tight cables can lead to poor modulation or constant friction. Adjust tension until the brakes engage smoothly.
What should I do after adjusting my bike brakes?
After adjusting your bike brakes, always perform a test ride in a safe area to ensure proper functioning. Check for smooth braking, proper alignment, and responsiveness before taking your bike out for regular use.